TL;DR: After setting up Pi-hole and Selenium automations on a Raspberry Pi, the next challenge was accessing them remotely -- but the router didn't support port forwarding. Ngrok solves this by creating secure tunnels from the internet to your local device. This post shows how to set up ngrok on a Raspberry Pi to expose both the Pi-hole web admin panel (HTTP tunnel) and SSH access (TCP tunnel), so you can manage your Pi from anywhere on any network.
How to use ngrok to access your raspberry pi from anywhere.
I have posted some blog posts regarding setting up pihole on raspberry-pi, and running selenium based tasks on raspberry-pi.
Check these here in blog posts section.
What was my use case ? 🤷
After putting these tasks as CLI commands on raspberry-pi, I wanted more accessibility for these. Like running these even if I am not in local network (at home).
There are two things that I wanted to access.
- Pihole web interface that runs on pihole's address at
http://192.168.0.X/admin/ - SSH into pihole device to run the CLI commands that I made for some automations.
Challenges ✨
In many routers these are sections where you can configure remote management or do port-forwarding. But my browser did not have these settings available.
It had a section to configure port-triggering, which is similar to port-forwarding but just inside the WAN network. That meant I can not access these things from mobile network or outside WAN.
Solution ✔️
Because of all these restrictions of my router I decided to use ngrok.
Ngrok is a useful utility to create secure tunnels to locally hosted applications using a reverse proxy. It is a utility to expose any locally hosted application over the web.
Setting up ngrok 🔨
- log on to your device
$ ssh pi@192.168.0.X
It will prompt for password, Enter password and log into the device.
- Download ngrok and unzip it.
$ wget https://bin.equinox.io/c/4VmDzA7iaHb/ngrok-stable-linux-arm.tgz

$ tar -xvzf ngrok-stable-linux-arm.tgz
- Create a ngrok account. Where you will get an authtoken.
$ ./ngrok authtoken YOUR_NGROK_TOKEN
This token removes the 8-hour limit of ngrok tunnel. In free version, you get 1 tunnel with unique URL to access local app.
Now you are all setup for using ngrok…!!

Using ngrok to access pihole web interface
Use below command to create a tunnel for port 80. On port 80 there is pihole web interface. We will be able to access this from a unique ngrok URL.
$ /home/pi/ngrok/ngrok http 80 --log=stdout > /home/pi/ngrok.log &
Breakdown of command/home/pi/ngrok/ngrok --> this is absolute location ngrok executablehttp --> protocol to make tunnel for80 --> port number of web app--log=stdout > /home/pi/ngrok.log --> Log output file& --> runs ngrok in background mode
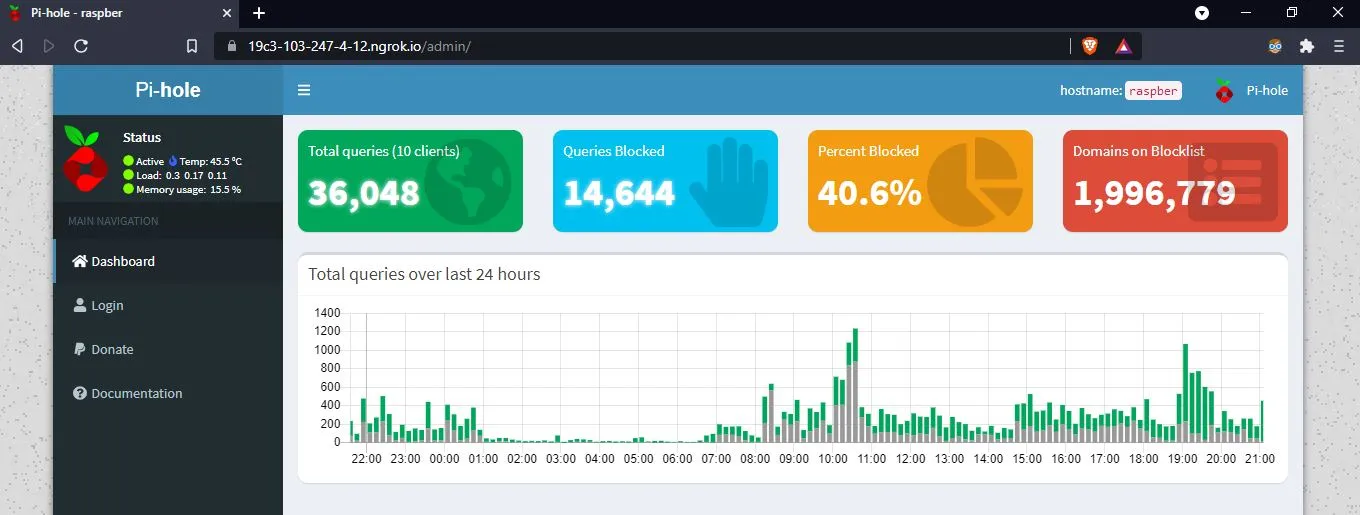
Below is snapshot of how you can access web portal via ngrok tunnel.
Using ngrok to ssh into raspberry-pi
Use below command to create a tunnel for port 22. Using port 22 we can ssh into the device. Using unique URL provided by ngrok, we can ssh into raspberry-pi from anywhere.
$ /home/pi/ngrok/ngrok tcp 22 --log=stdout > /home/pi/ngrok.log &
Breakdown of command/home/pi/ngrok/ngrok --> this is absolute location ngrok executabletcp --> protocol to make tunnel for22 --> port number of ssh--log=stdout > /home/pi/ngrok.log --> Log output file& --> runs ngrok in background mode.
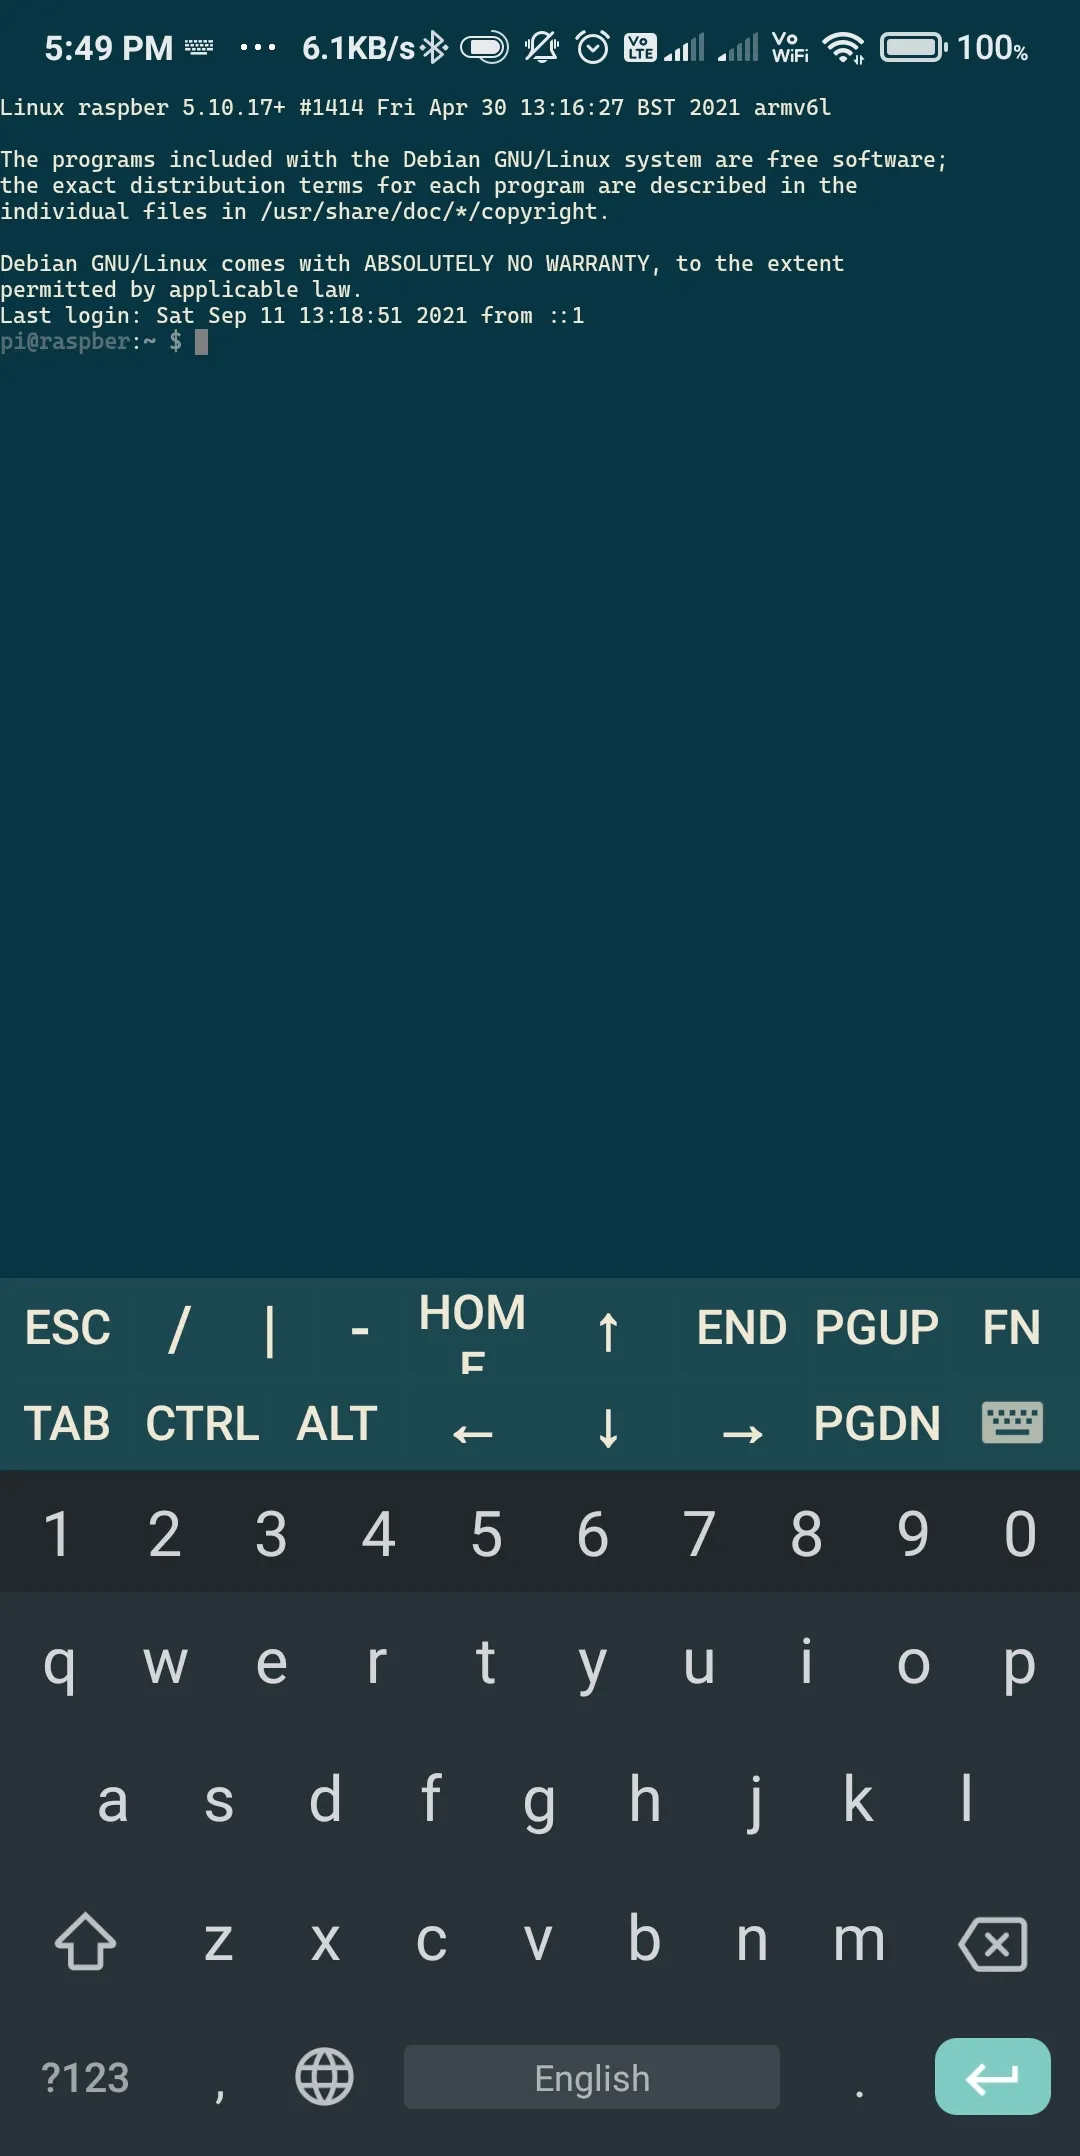
Any ssh app like putty(Windows) or juiceSSH(mobile) can be used to connect to raspberry-pi
Below is snapshot of how ssh access from juiceSSH.